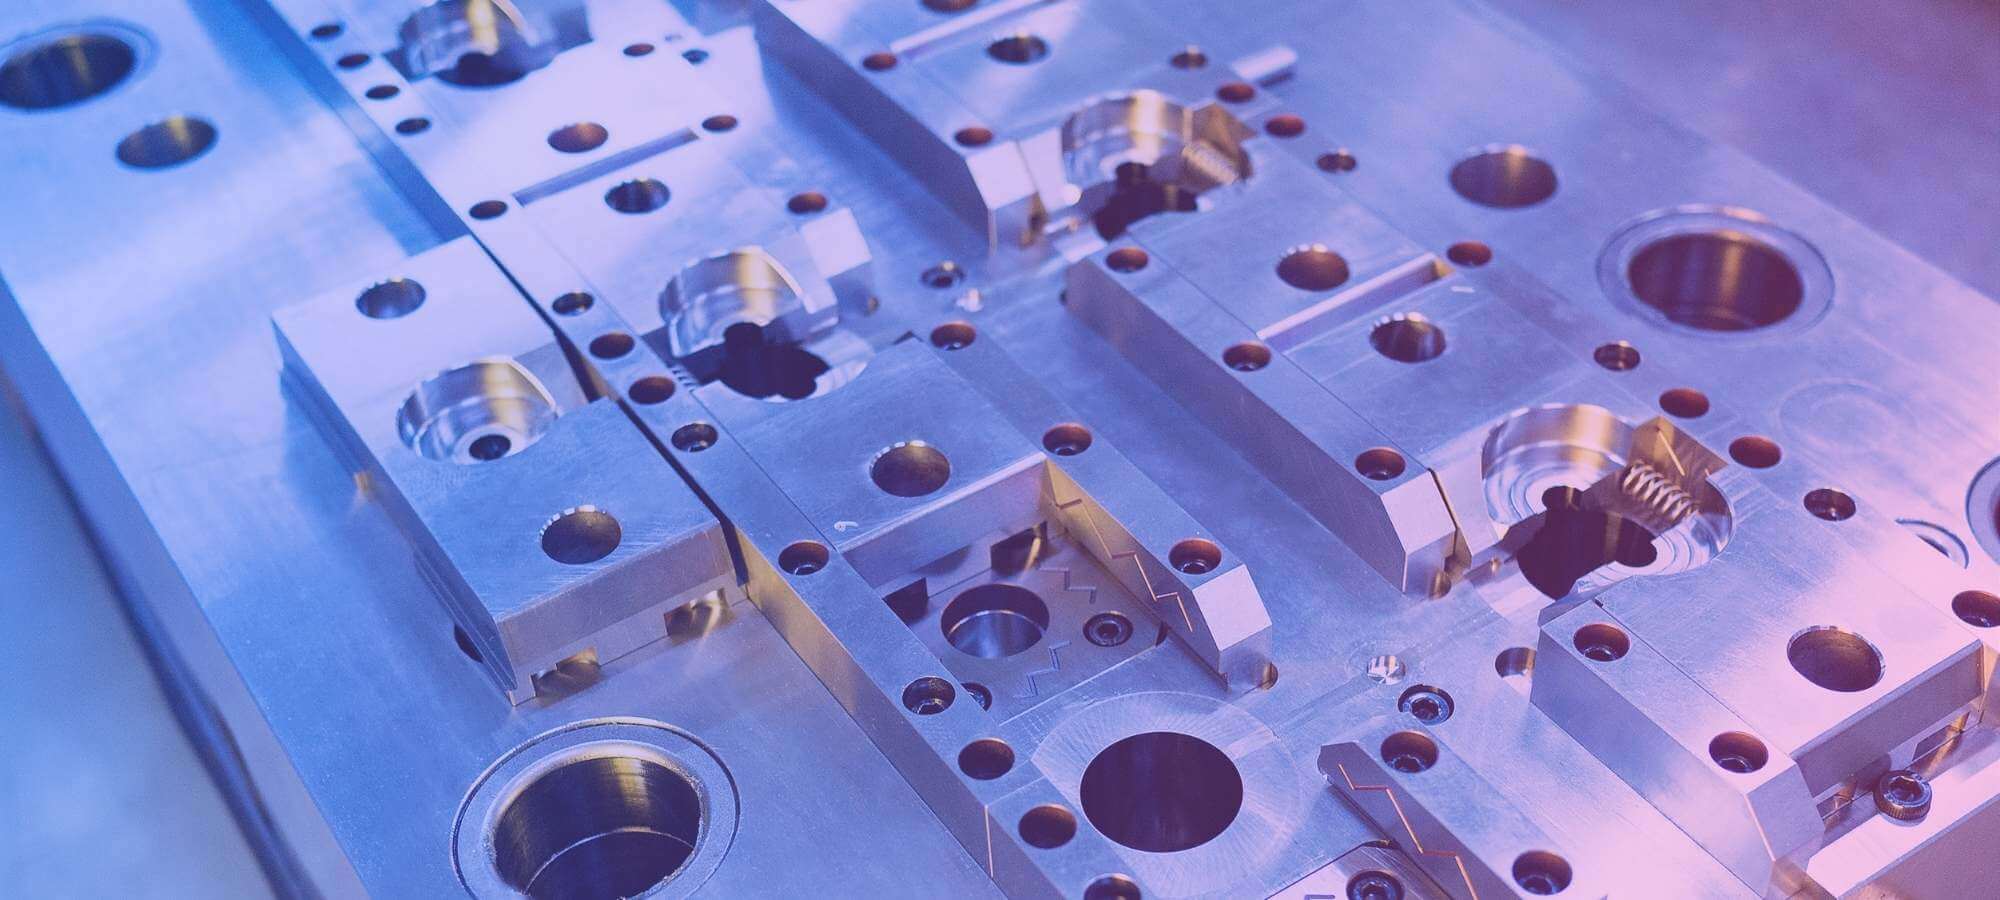
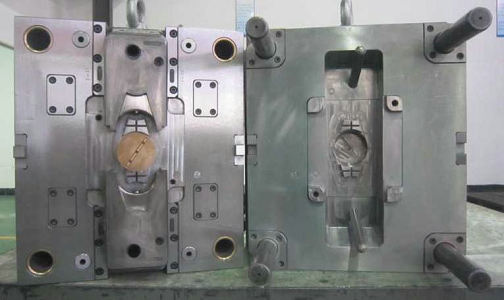
You need to know how to fix the mold issue, plastic Mold Maintenance, plastic mold repairing, if you are running plastic injection moulding company, mold Maintenance in important.
Mould, indispensable in modern industry development and technological level improvement, is one kind of widely-used process equipment during mid-period of industrial production. According to statistics, moulding accounts for 75% of rough machining of industrial parts and 50% of precision machining. Mould can be classified as cold-punching mold, injection mold (or plastic injection mold), die casting mold, rubber mold and so on.
1. Introduction of Injection Mould
1.1 Range of Application:
Injection mould is suitable for thermoplastic like ABS, PP, PC, POM, etc. while rubber mould is fit for thermosetting plastic, such as phenolic plastic, epoxy plastic and so on.
1.1.1 Classification of Injection Mould:
By structure: two-plate mould, three-plate mould
By gate type: edge gate mould, pin gate mould, hot runner mold
1.1.2 Structure of Injection Mould
A. Molding parts/components: normally called as cavity and core, which are the closest part with plastic products.
B. Feeding/casting system: Runner for molten plastic to flow from nozzle to cavity. It is classified as the main runner, sub-runner, runner gate, cold slag well, etc.
C. Leading/Guiding system: The system, determining the relative position of cavity and core during clamping/mold closing, is normally made up by guide pin and guide bushing. the ejector plates also need positioning by guide pin and guide bushing.
D. Demoulding structure: It is the structure ejecting the plastic part from the mold. Commonly, it consists of ejector pin, ejector plate/stripper plate, ejector sleeve, etc.
E. Temperature conditioning system: Cooling water must installed at both cavity and core site to meet the requirement of mold temperature during the injection molding process.
F. Side parting line and side action: Slide should be adopted when there is under-cut structure on the product design, i.e. the structure inconsonant with demoulding direction. It is usually made up by slide, lifter, loose core, etc.
G. Venting system: It consists of two forms: the venting groove and gap between mould components. In order to discharge air in cavity and gas caused in moulding process, venting groove is usually set at parting line, with the principle of designing venting groove as big as possible in compliance with smooth overflow and flashing. Meanwhile, insert pin, ejector pin and mould insert discharge air through gaps between mold components.

2. Plastic Mould Repair
Mould repair is needed during occasions of normal or abnormal abrasion and various abnormal phenomena occurred during plastic molding production.
2.1 Preparations for moldmaster (moldmaker)
A. Make it clear the mould is damaged to what extent;
B. Develop a repair plan according to the damaged molding sample.
C. Precise understanding for repair work needed to be done: Mould repair is usually carried out without drawing with the principle of no change of the plastic parts structure and dimension. Therefore, it is prerequisite for our technician to understand precisely where and to what size should the part be repaired.
2.2 The Dos and Donts during assembly and Disassembly Mould
A. Sign mark: The corresponding sign mark in mould base must be remembered clearly when removing guide pin, ejector sleeve, ejector pin, mould insert, holder block, etc, to assure the right re-installation for the mould, especially for those with direction requirements. The following two items should be paid attention to in this process:
- The signed mark is the exclusive one without duplication;
- Sign mark should be made on each mould insert accordingly
B. Anti-Damage proofing: Anti-Damage proofing should be carried out for parts easy to install. In other words, parts cannot be installed back with Incorrect installation;
C. Placement: Parts removed should be placed in order while screws, springs, O-ring should be stored in the plastic box.
D. Protection: Protection measures should be made for precision parts such as mould core, cavity and so on, to avoid careless damage by people.
2.3 The Dos and Donts when Repairing Mould texture surface
A. Polishing: Protection measures for texture surface component should be made prior to repair work when polishing is needed for plastic parts with mould sticking and scrapes. It is forbidden to polish texture surface area. Mould shutoff repair should be done if it is unsure for the repair result.
B. Welding line: The following items should be paid attention to during welding on texture surface:
- Welding rod material should be consistent with that of mould core;
- Tempering should be done after welding;
C. Re-texture: When mould repair is finished and ready to take it out for re-texture, moldmaker should make good protection of texture area covered with paper, mark position to make texture area and attach texture template with the mould. After mould texturing, moldmaker should examine textured surface carefully to guarantee good quality and then install mould back.
If it is not sure about the repairing result, mold test should be made first. If it is OK, then take mould out to make the texture
3. Plastic Mold Maintenance
Plastic Mold maintenance is more important than mould repair. The more frequently repaired, the shorter the molds life would last. And vice versa.
3.1 The necessity for Mould Maintenance
- Keep normal movement of the mould and avoid unnecessary abrasion of moving parts;
- Maintain the mould to normal service lifetime;
- Reduce oil contamination during production.
3.2 Classification of Mould Maintenance
- Routine maintenance for the mould;
- Scheduled maintenance for the mould;
- Appearance maintenance for the mould.
3.3 Items for Plastic Mould Maintenance
a. Routine maintenance:
- Oil filling on moving parts like ejector pin, slide, leader pin and ejector sleeve;
- Mould surface cleaning;

- Cooling channel dredging;
b. Scheduled maintenance, following the above items;
- Venting slot cleaning. Add venting slot at air trapping places and position burnt mark area;
- Repair of damaged and wearing places;
c. Appearance maintenance:
- Make painting for outside of mould base to avoid rusting;
- The cavity should be coated with anti-rusting oil/grease after mould dropping/shutoff.
- Mould should be closed tightly for storage to avoid dust coming into mould core.
3.4 The Dos and Donts for Mould Maintenance
a. For moving parts, oil filling during routine maintenance is necessary;
b. Mould surface must be clean enough: Tag paper cannot be stuck on P/L side. Do not close the mold when molding part is sticking to the cavity or core side, clean the plastic residues at P/L position.
c. Abnormal condition identification, Prompt repair should be made if there is ejection abnormity, great noise during mold-opening and mold-closing.
4. Safety Issues during Mould Repair and Maintenance
Safety should be put in the first place whenever and wherever. Mould repair and maintenance, with close contact with mold machine and steel equipment, is no exception. It is necessary to pay high attention to safety issues during this process.
- Examine carefully before use to make the sure hanging ring in perfect condition.
- The worker must wear safety goggle when operating mold machine to avoid flying chip into eyes
- The worker must wear protective clothing and safety goggle during the welding process.
- It is forbidden to operate at the bottom of the mould.
- Injection moulding machine must be in stopped state and nameplate should be hung on it before operating machine.


